
Planning a shower screen around your room
A shower screen affects more than the look of the enclosure. It determines how you enter, where water is contained and how easily the shower can be cleaned.
Check the entry first
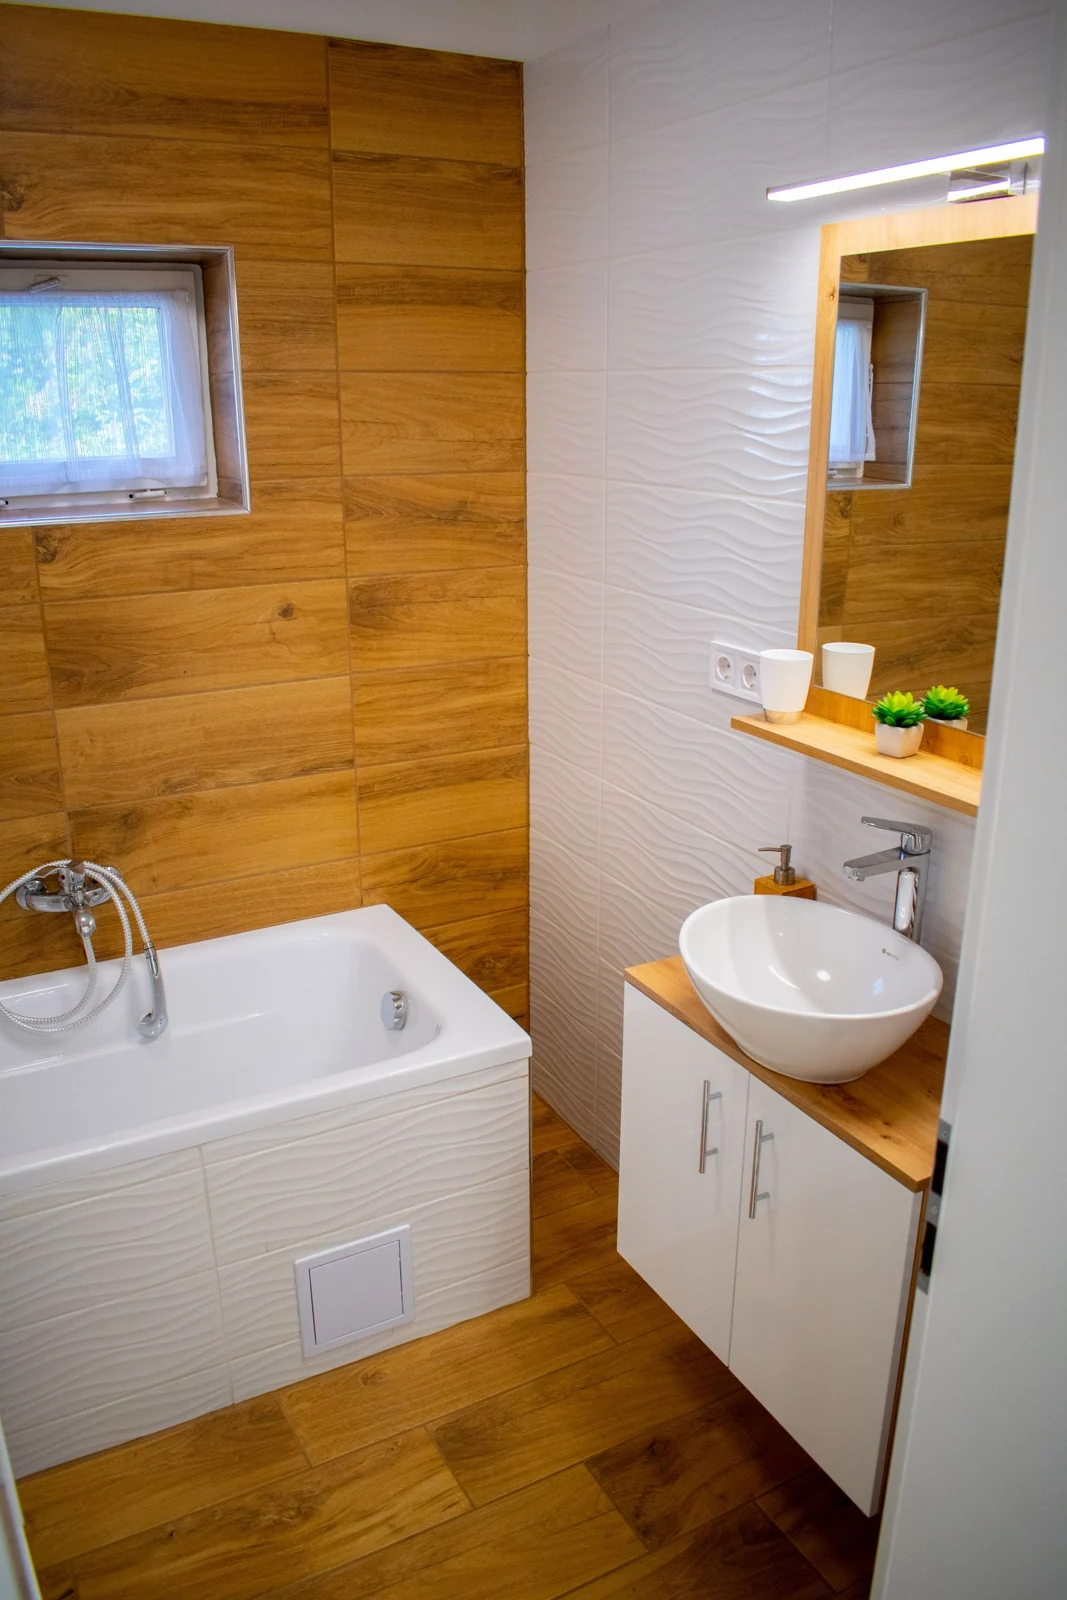
Mark the screen and its opening on a simple room plan. For a hinged door, include the arc of movement and nearby fittings. For a sliding arrangement, check the usable opening rather than the overall width.
Think about reaching the controls without standing under the initial flow of water. Consider how the route works for each person using the room.
Treat splash control as part of the design
An open panel may create a lighter appearance, but the room layout and shower position affect how water is contained. Discuss the full arrangement rather than choosing the glass in isolation.
The wall and floor finishes around the shower need to suit the proposed splash area. The screen should fit the assessed room and specified system.
Allow for installation details
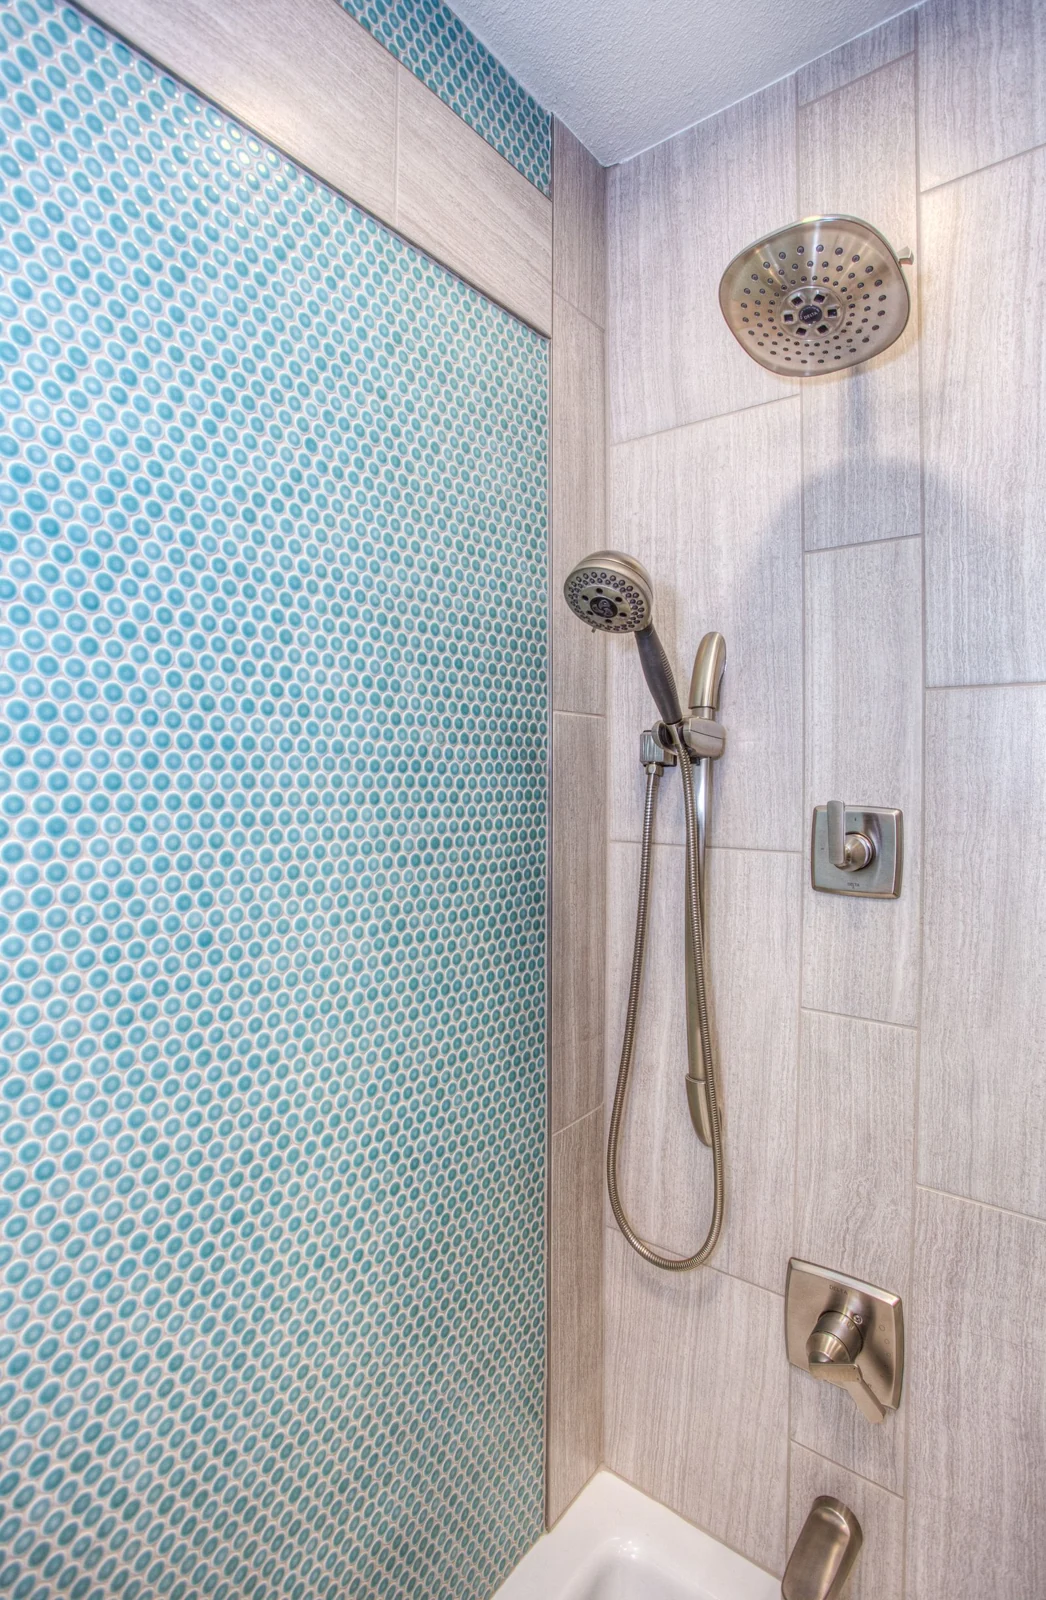
Walls may not be perfectly straight or level. Measurements, fixing positions and product adjustment ranges need checking before ordering.
Agree the tray, wall finish and screen together, including the sequence in which final dimensions are taken. Buying to an approximate measurement can create an avoidable mismatch.
Think about cleaning and replacement
Check how you will reach both sides of the glass and the spaces around seals, tracks and hinges. Ask for the manufacturer’s care instructions.
Retain the product details and supplied paperwork after installation. They can help identify compatible replacement parts later.
Compare the opening types in your own layout
A hinged screen needs space for its movement, while a sliding arrangement has a usable opening that may be smaller than its overall width. A fixed panel leaves an open entrance and needs to be considered with the shower position and splash area. None is automatically the best choice for every room. Begin with the available approach to the shower and the fittings beside it.
Draw the proposed opening and imagine stepping through with the room door in its usual position. Include the basin, toilet, towel rail and any cabinet door that could intrude into that route. Ask to check the actual product opening, rather than assuming that all enclosures of the same listed size work alike. The bathroom layout guide explains how to assess those movements before rearranging fittings.
Place the controls and storage deliberately
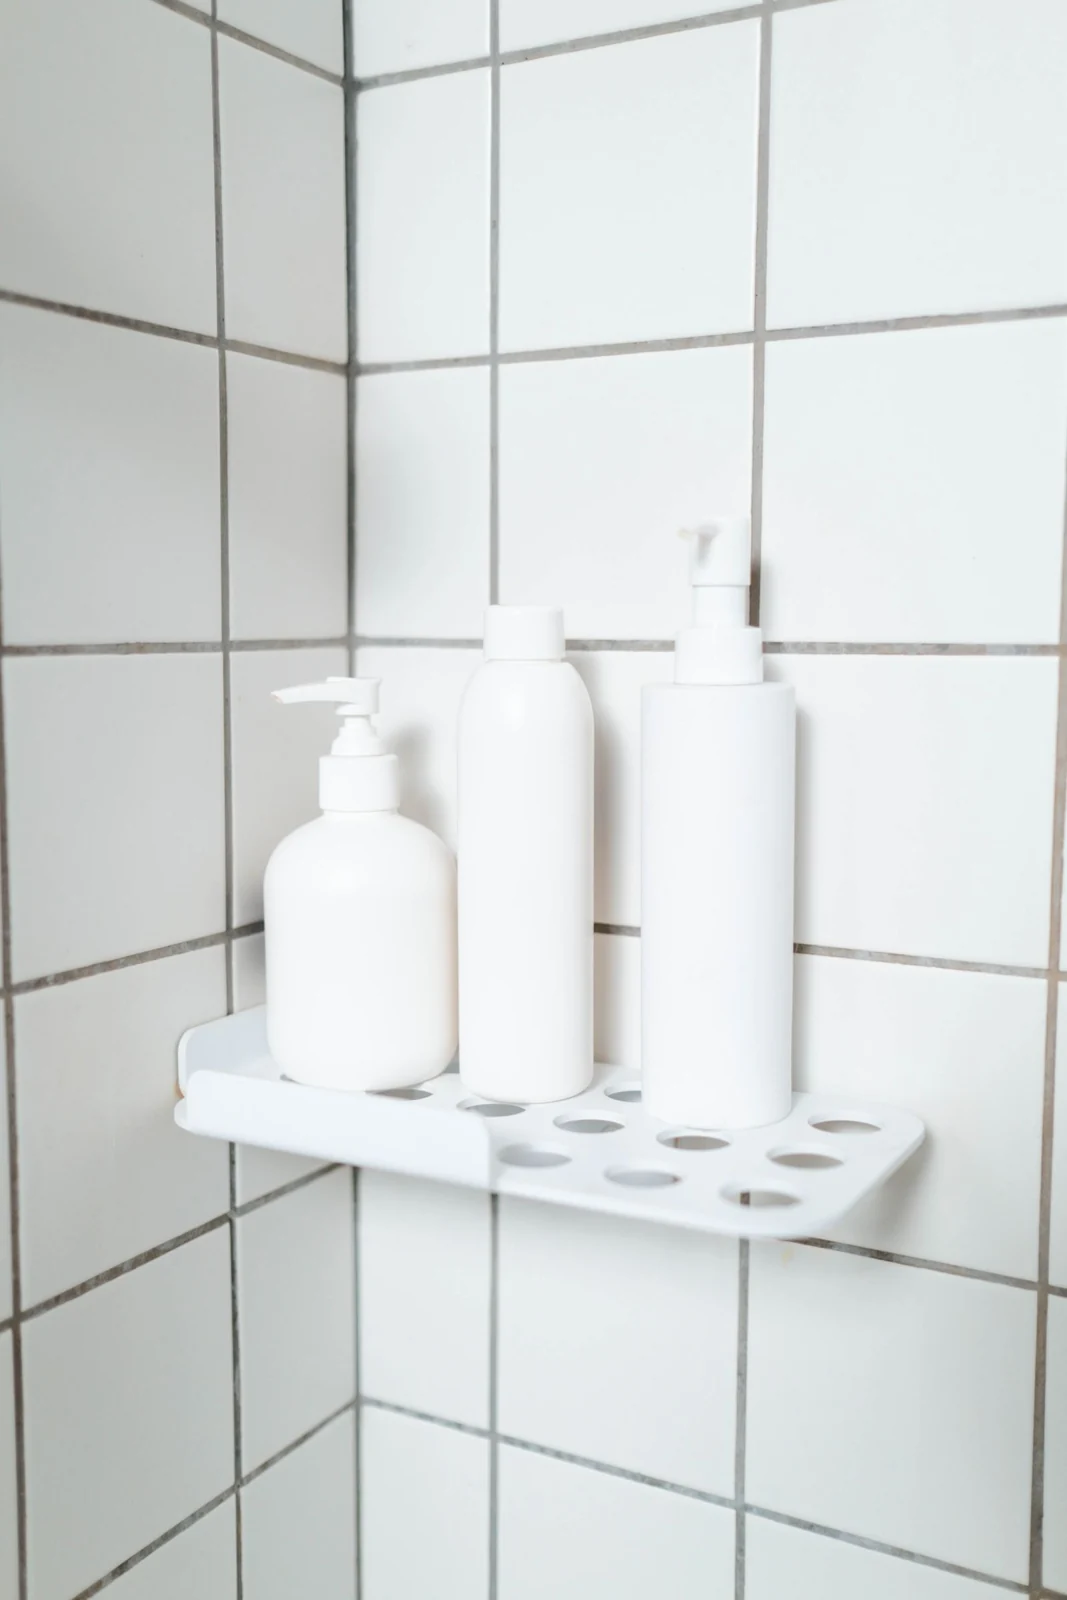
Think about where you stand to turn the shower on and whether you can reach the controls comfortably. Consider the position of the handset and any overhead fitting alongside the screen. A photograph can show attractive glass and metal finishes while leaving these practical relationships unclear. Discuss the complete arrangement so that the controls, spray direction and entry work together.
Include bottle storage in the same plan. A niche or shelf should be reachable from inside without obstructing the entrance or screen movement. Check that you can clean it and that it suits the selected wall system. The location of storage can influence where a glass panel or wall fixing makes sense, so it is worth deciding early rather than adding a shelf wherever space happens to remain.
Check what the product needs for installation
The tray, finished wall surfaces and enclosure need to be compatible. Ask when final measurements will be taken and which dimensions determine the order. An approximate measurement between unfinished walls may not represent the opening once the selected finish is installed. Product adjustment ranges and fixing requirements should be checked for the actual room rather than treated as a way to absorb any possible difference.
Also discuss the surrounding features: a sloping ceiling, a window, a radiator or boxed-in pipes may affect the arrangement. Keep the exact product reference, selected opening direction and finish together in the specification. If the product changes, ask for compatibility to be checked again. A similar-looking replacement may have different details that matter during installation or everyday use.
Plan care and future access before ordering
For a bath-to-shower conversion, screen selection should form part of the agreed tray, wall and drainage plan. Ask how you will reach both sides of the glass and any tracks or seals for routine care. Check the manufacturer’s instructions for suitable cleaning products. A finish selected for appearance should also be manageable with the way you intend to look after the bathroom.
Keep the model details and supplied paperwork after fitting so that any later enquiry about seals, handles or other parts starts with the correct reference. At handover, have the opening and closing action demonstrated and ask about any feature you do not understand. Confirm when the shower can first be used. These straightforward checks help turn a product choice into a shower arrangement that is comfortable to enter, practical to maintain and suited to the space around it.
Your next step
Include shower entry, space around the fittings and cleaning access in your conversion discussion before choosing a screen.
Bath-to-Shower Conversions in HamiltonPlan your bathroom in Hamilton
Explore bath-to-shower conversions in Hamilton, then tell us about your room and the changes you have in mind.